Engineering the Perfect Apex for Durable Nail Enhancements
Professional nail technicians in the United States nail salon market must prioritize structural integrity to ensure client safety and service longevity.
The apex represents the thickest point of a nail enhancement, strategically placed to reinforce the stress area and prevent snapping or lifting.
Understanding the physics behind product placement allows technicians to create sets that withstand daily mechanical stress without compromising aesthetics.
The Physics of Apex Placement and Structural Integrity
Zone 2, located at the center of the natural nail bed, requires the highest concentration of product to support the free edge extension.
A properly constructed apex shifts slightly depending on the length of the nail, moving closer to the cuticle area for shorter enhancements.
Failure to reinforce this critical point often results in painful breaks at the hyponychium line, damaging the natural nail plate.
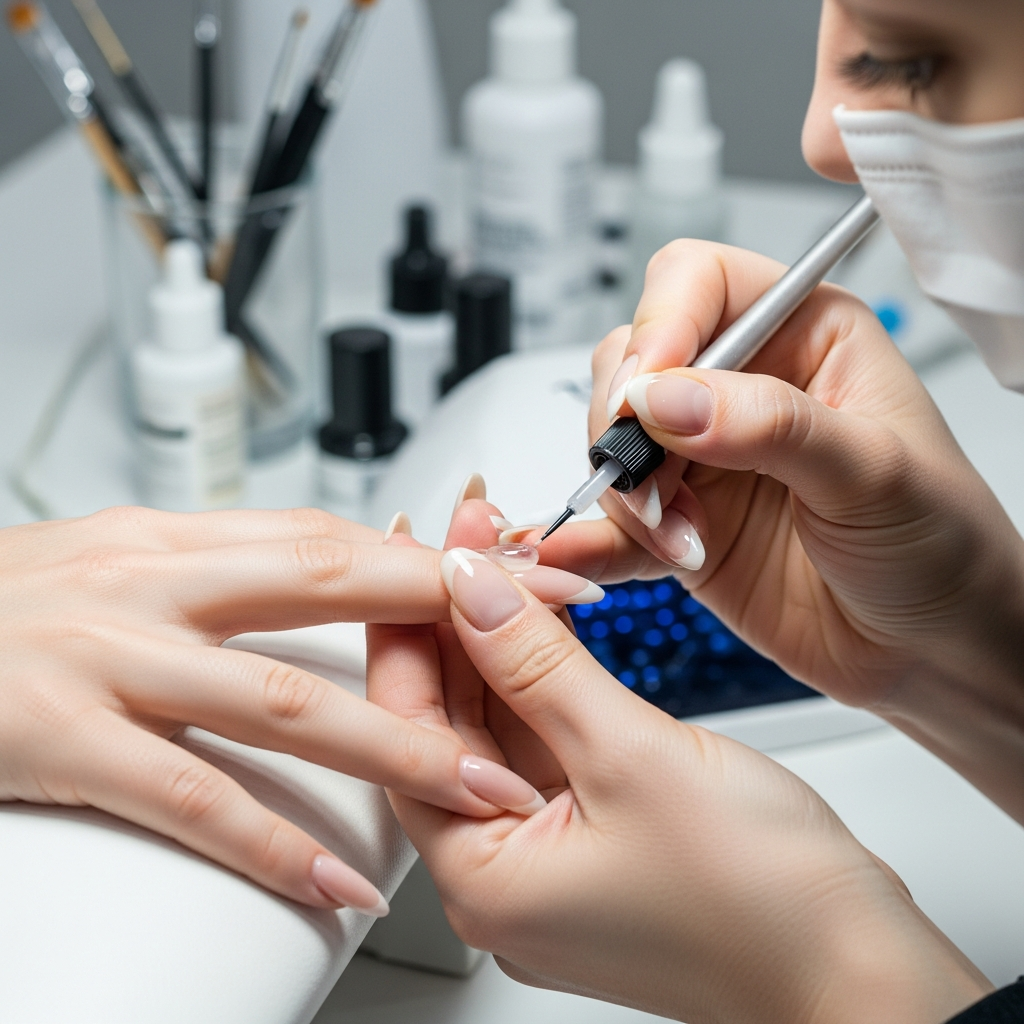
When working with builder gel or high-viscosity acrylics, the bead must be guided toward the center to create a seamless transition.
Professional technicians utilize gravity by flipping the client’s hand to help level the product and define the natural curvature of the nail.
This technique ensures a smooth surface that requires minimal filing, preserving the integrity of the polymer chains within the enhancement.
Adapting Structure for Modern Nail Shapes
- Square and Squoval: Requires a centered apex to balance the heavy distribution of product at the sidewalls and free edge.
- Almond and Stiletto: The apex must be slightly higher and more elongated to support the tapered points and prevent tip fractures.
- Coffin/Ballerina: Needs a reinforced bridge between the stress point and the narrowing free edge to maintain balance.
Advanced Application Techniques for Salon Professionals
Proper surface preparation is the foundation of structural success, requiring thorough cuticle debridement and controlled dehydration of the nail plate.
Technicians should apply a thin “slip layer” of gel to guide the bulk of the product, ensuring the apex remains centered during the leveling process.
In a high-volume United States nail salon, speed must be balanced with precision to avoid heat spikes during the polymerization phase.
Monitoring the C-curve from the front view is essential for verifying that the product thickness is consistent across the entire enhancement.
A 50% C-curve provides the optimal strength-to-flexibility ratio for most professional-grade acrylic and gel systems.
Consistency in this measurement prevents the enhancement from becoming brittle or overly bulky, which can lead to premature lifting at the sidewalls.
Troubleshooting Common Structural Weaknesses
Flat nails often lack a natural arch, requiring the technician to build a synthetic apex using multiple thin layers of high-clarity builder gel.
If the apex is placed too far forward, the nail becomes “front-heavy,” causing the enhancement to pull away from the natural nail at the cuticle.
Conversely, an apex placed too far back near the eponychium creates an unsightly bump that interferes with the natural growth cycle of the nail.
Professional Tip: Always check the profile view of the nail at eye level before the final cure or finish filing.
Ensuring the highest point of the nail aligns with the stress area will significantly reduce client complaints regarding breakage.
Mastering these technical nuances elevates the service standard of any United States nail salon and establishes the technician as a structural expert.