Mastering Professional Acrylic Nail Retention
Acrylic nail retention depends on thorough mechanical and chemical preparation of the natural nail plate and precise product application. By removing non-living tissue from the eponychium and applying a balanced apex, technicians ensure the enhancement resists lifting and supports the natural nail integrity during daily wear.
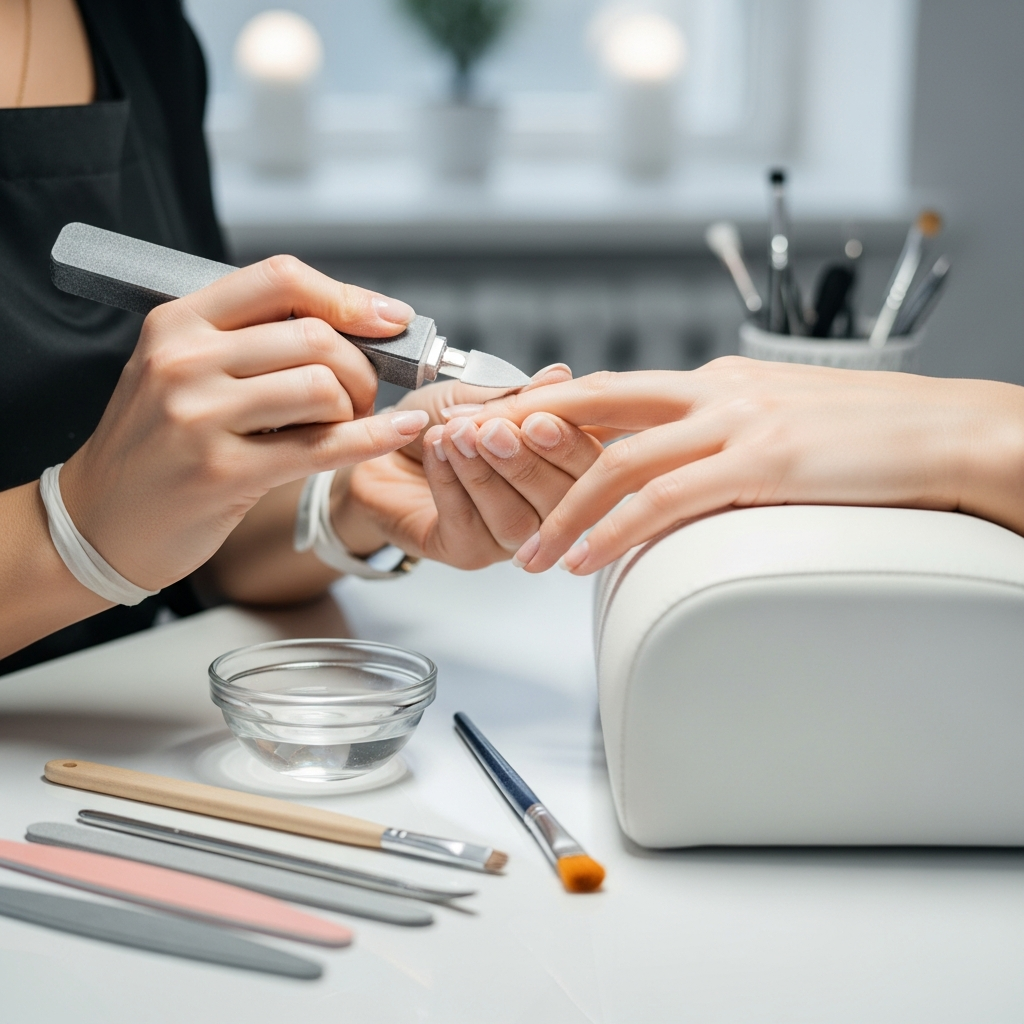
Mechanical Nail Plate Preparation
The foundation of any long-lasting service is the removal of the invisible cuticle from the nail plate. Use a curated cuticle bit or a manual pusher to clear all non-living tissue from the proximal nail fold.
Gently remove the natural shine using a 180-grit buffer or file in the direction of nail growth. This creates a surface texture that allows the acrylic polymer to anchor effectively without causing thinning or damage.
Thoroughly cleanse the area with a lint-free wipe and 90% isopropyl alcohol to remove dust. Ensuring the nail is free of debris prevents air pockets and structural weaknesses in the final enhancement.
Chemical Adhesion and Priming
Apply a professional-grade dehydrator to remove residual surface oils and moisture from the nail. This temporary dehydration is critical for the chemical bond between the natural keratin and the acrylic system.
Use a high-quality primer according to the manufacturer’s instructions for the specific nail type. Acid-based primers provide a strong etch for oily plates, while non-acid primers act as a double-sided adhesive for sensitive clients.
Ensure the primer does not touch the surrounding skin or soft tissue to avoid irritation. Proper application keeps the product contained strictly to the nail plate, reducing the risk of edge lifting over time.
Achieving Structural Balance
Place the highest point of the enhancement, known as the apex, over the stress area of the nail. This structural reinforcement prevents the enhancement from snapping when the free edge experiences pressure.
Taper the product toward the cuticle and sidewalls until it is flush with the natural nail. Thick edges near the skin are the primary cause of snagging and premature lifting in professional nail services.
Check the thickness of the free edge to ensure it matches the thickness of a credit card. A balanced nail structure distributes weight evenly and protects the natural nail bed from trauma.
Monomer and Polymer Ratio Control
Maintain a medium-wet bead consistency to ensure the acrylic flows into the etched surface of the nail. Beads that are too dry will not adhere, while beads that are too wet will shrink and lift.
Work in small, controlled zones to manage the curing time of the product effectively. Proper bead placement allows the technician to build the nail shape with minimal filing required during the finishing stages.
Clean the professional nail brush frequently in clean monomer to prevent product buildup between the bristles. A clean tool ensures precise application and a smooth surface for the final finish.